Jenkins is an open source automation server. Jenkins offers an easy way to set up a continuous integration and continuous delivery (CI/CD) pipeline.
Continuous integration (CI) is the practice of merging all developers’ working copies to a shared mainline several times a day. Continuous delivery (CD) is a series of practices where code changes are automatically building, testing and deploying to production.
In this tutorial, we will show you how to install Jenkins on an Ubuntu 18.04 server. We will use Jenkins Debian package repository. We can use all steps written here for Ubuntu 16.04 (Xenial Xerus).
Installing Jenkins
To install Jenkins on your Ubuntu system, follow these steps:
Step 1: Install Java
Since Jenkins is a Java application, the first step is to install Java. Update the package index and install the Java 8 OpenJDK package with the following commands:
sudo apt update && sudo apt install openjdk-8-jdk
The current version of Jenkins does not support Java 9, Java 10, Java 12 yet. If you have multiple versions of Java installed on your machine make sure Java 8 is the default Java version.
Step 2: Add the Jenkins Debian repository
Import the GPG keys of the Jenkins repository.
wget -q -O - https://pkg.jenkins.io/debian/jenkins.io.key | sudo apt-key add -
Add the Jenkins repository to the system.
sudo sh -c 'echo deb http://pkg.jenkins.io/debian-stable binary/ > /etc/apt/sources.list.d/jenkins.list'
Step 3: Install Jenkins
Once the Jenkins repository is enabled, update the apt package list and install the latest version of Jenkins by typing:
sudo apt update && sudo apt install jenkins
Jenkins service will automatically start after the installation process is complete. You can verify it by printing the service status:
systemctl status jenkins
Sample output:
● jenkins.service - LSB: Start Jenkins at boot time
   Loaded: loaded (/etc/init.d/jenkins; generated)
   Active: active (exited) since Fri 2019-12-27 22:06:04 EET; 57s ago
     Docs: man:systemd-sysv-generator(8)
    Tasks: 0 (limit: 2360)
   CGroup: /system.slice/jenkins.service
Setting up Jenkins
To set up your new Jenkins installation, open your browser, type your domain or IP address followed by port 8080, http://demo.prado.lt:8080 and screen similar to the following will be displayed:
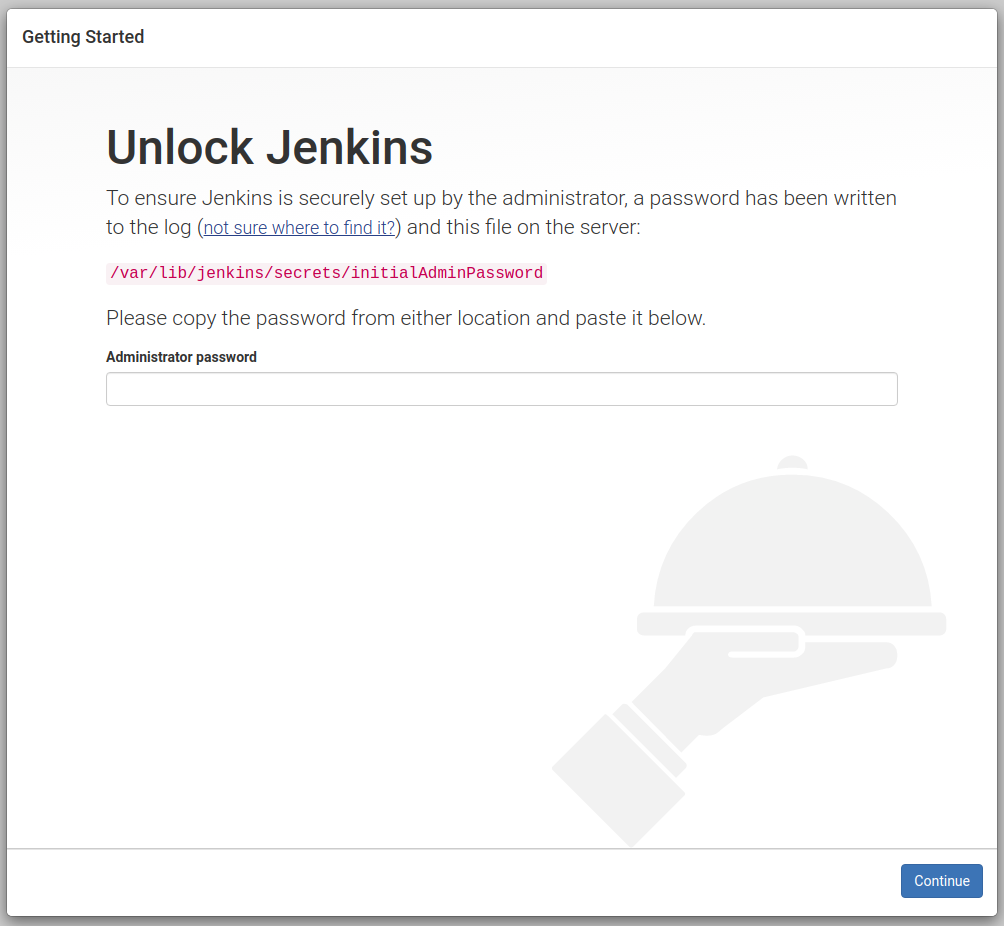
During the installation, the Jenkins installer creates an initial 32-character long alphanumeric password. Use the following command to print the password on your terminal:
sudo cat /var/lib/jenkins/secrets/initialAdminPassword
Sample output:
7bb4f051f4c64d7696c26c71ebbf6620
Copy the password from your terminal, paste it into the Administrator password field and click “Continue”.
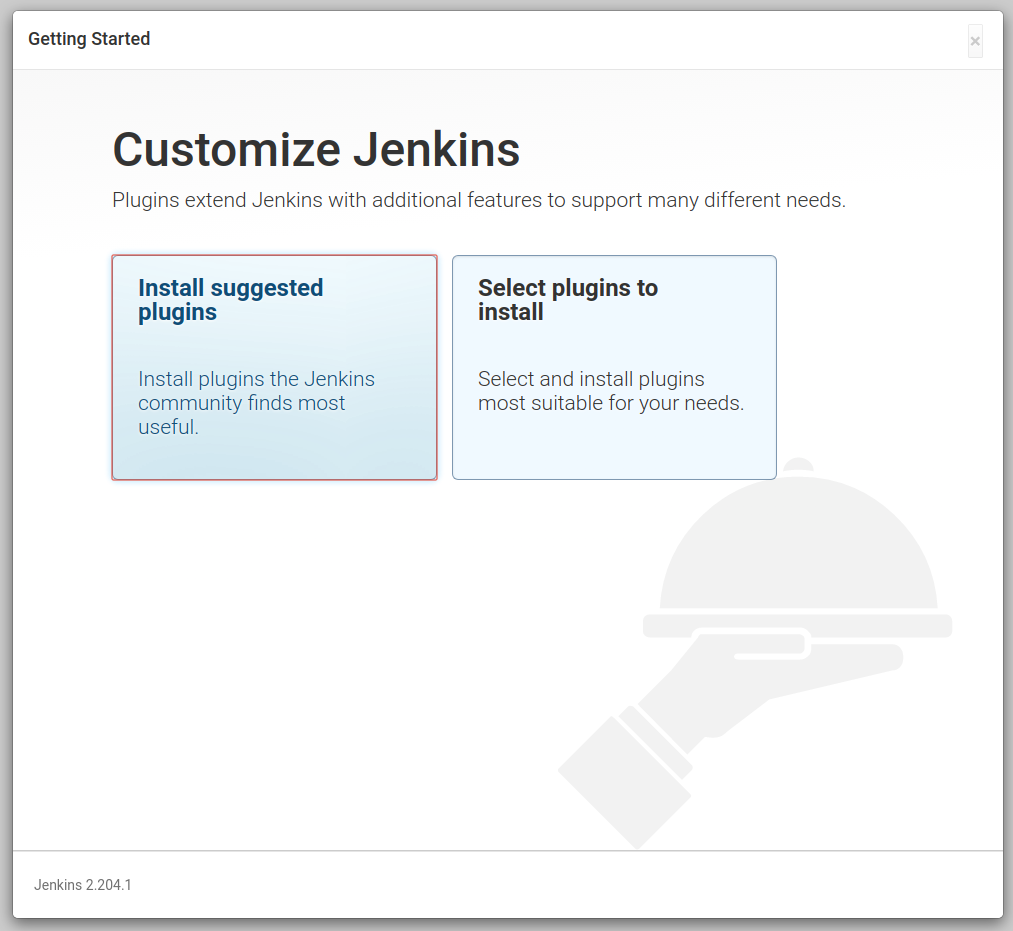
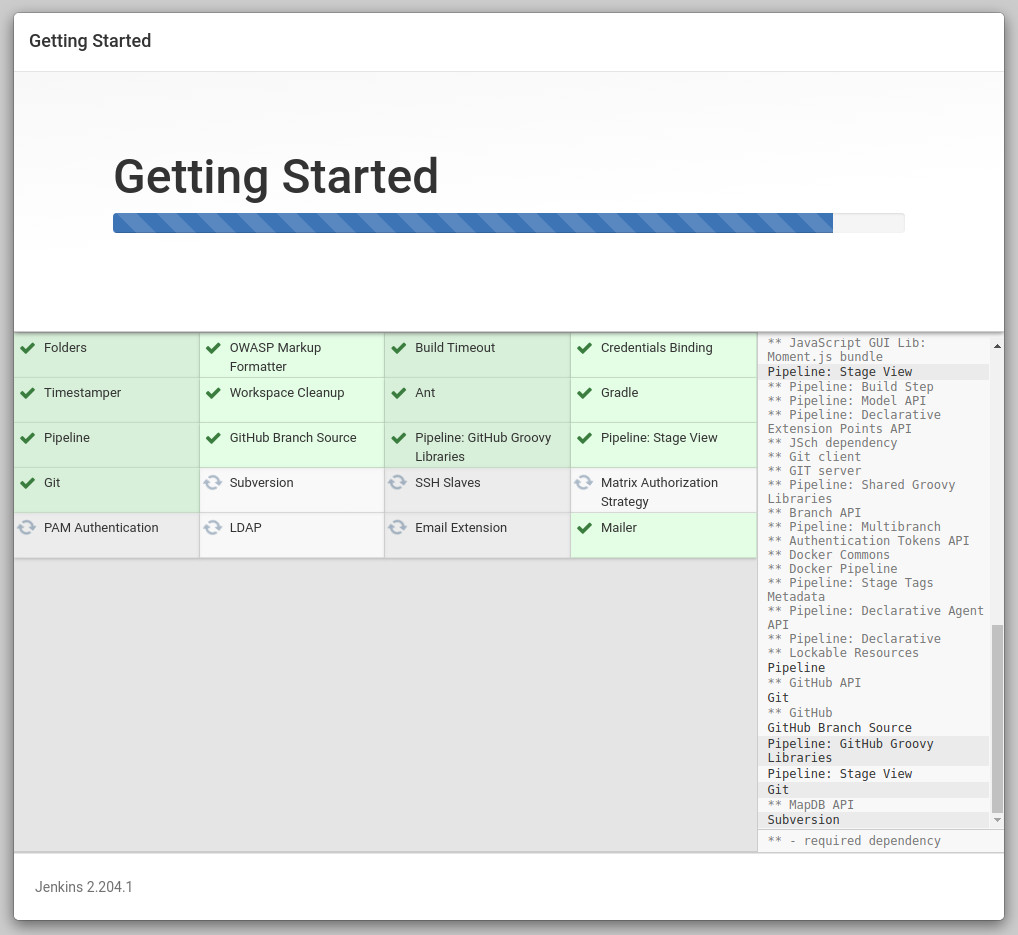
On the next screen, the setup wizard will ask you whether you want to install suggested plugins or you want to select specific plugins. Click on the “Install suggested plugins” box, and the installation process will start immediately.
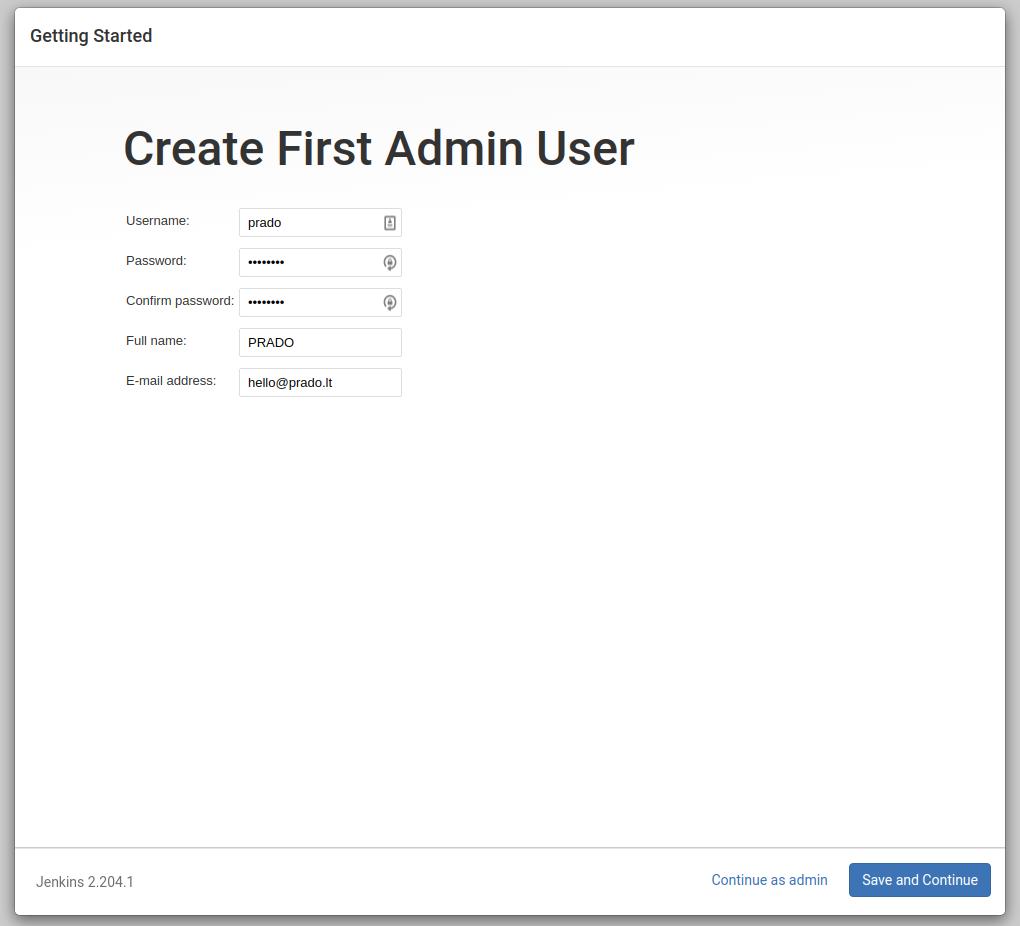
Once the plugins are installed, you will be prompted to set up the first admin user. Fill out all required information and click “Save and Continue”.
The next page will ask you to set the URL for your Jenkins instance. The field will be populated with an automatically generated URL.

Confirm the URL by clicking on the “Save and Finish” button and the setup process will be completed.
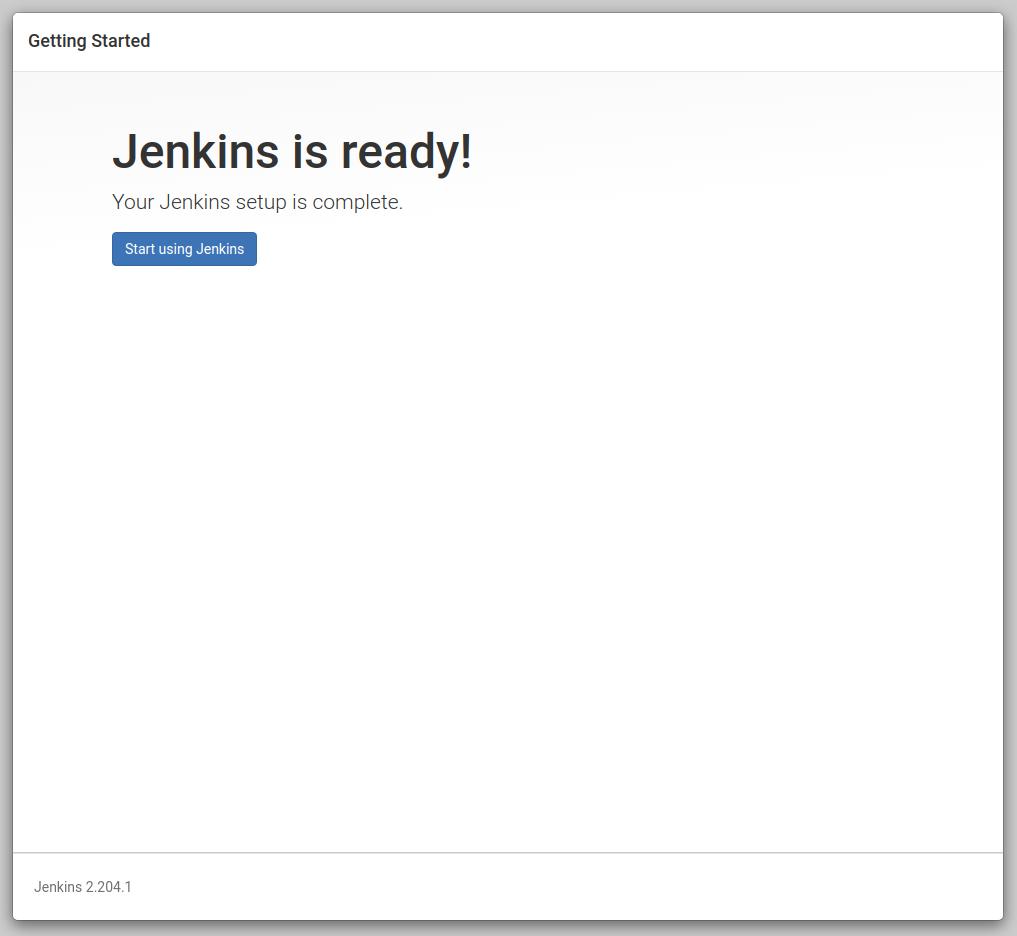
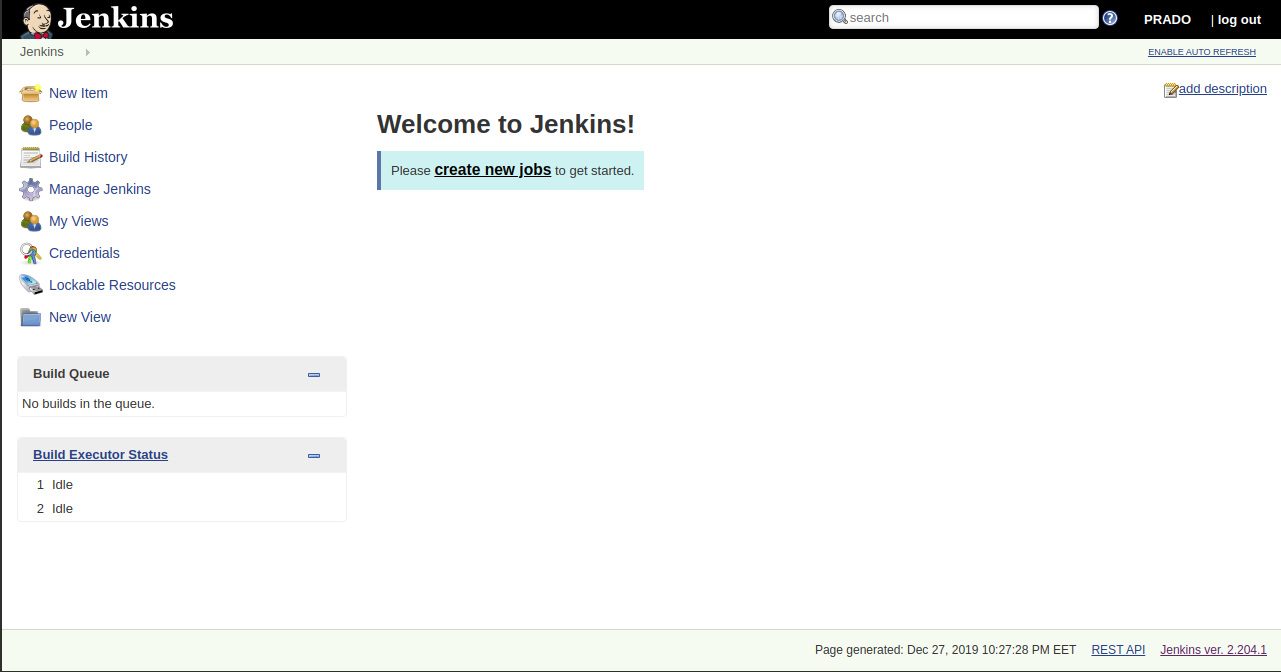
Click on the “Start using Jenkins” button and you will be redirected to the Jenkins dashboard logged in as the admin user you have created in one of the previous steps.
Install plugins required for CI (optional)
Now, go to the “Manage Plug-in” page and visit the “Available”. On the search field, look for the following plugins one by one, select them, and when they are all selected, download and install them. Each plugin should be self-explanatory, but if you want more details about each one of them, visit their websites and read the documentation:
GitHub integration – access to GitHub repositories.
Checkstyle – reading CodeSniffer logs in the Checkstyle format.
Clover PHP – processing PHPUnit’s Clover log file.
Crap4J – processing PHPUnit’s Crap4J XML log file.
DRY – processing phpcpd logs in the PMD-CPD format.
HTML Publisher – publishing documentation generated by phpDox, for instance.
JDepend – processing PHP_Depend logs in the JDepend format.
Plot – processing phploc CSV output.
PMD – processing PHPMD log files in the PMD format.
Violations – processing various log files.
xUnit – processing PHPUnit’s JUnit XML log file.
At this point, you have successfully installed Jenkins on your system.
Conclusion
In this tutorial, you have learned how to install and perform the initial configuration of Jenkins. You can now start exploring Jenkins features by visiting the official Jenkins documentation page.