LEMP (also known as LNMP) is a group of open-source software which enable a server to host dynamic websites and web applications. It consists of the Linux operating system, the (E)Nginx web server (which replaces the Apache component of a LAMP stack), the MySQL relational database management system, and the PHP programming language.
Step 1: Install Nginx on CentOS 8 From EPEL.
Nginx is a fast web server compared to Apache and becomes more popular these days. In order to install nginx on CentOS 8, we need to add the EPEL repository using the following command. EPEL stands for Extra Packages for Enterprise Linux.
yum install epel-release -y
yum update
yum install nginx -y
After nginx is installed, we need to start it.
systemctl start nginx
Enable nginx start at system boot time.
systemctl enable nginx
Check if it’s running:
systemctl status nginx
Sample output:
● nginx.service - The nginx HTTP and reverse proxy server
   Loaded: loaded (/usr/lib/systemd/system/nginx.service; enabled; vendor preset: disabled)
   Active: active (running) since Thu 2019-12-12 21:44:29 EET; 7s ago
 Main PID: 18732 (nginx)
    Tasks: 2 (limit: 11545)
   Memory: 3.9M
   CGroup: /system.slice/nginx.service
           ├─18732 nginx: master process /usr/sbin/nginx
           └─18733 nginx: worker process
Check nginx version:
nginx -v
nginx version: nginx/1.14.1
Type your server IP address in your web browser, if you see the following, then nginx is correctly installed.

You can find your server public IP address using the following command:
ip a
Step 2: Install MariaDB on CentOS 8.
MariaDB is a MySQL fork of the original MySQL developer Monty Widenius. MariaDB is compatible with MySQL and I’ve chosen to use MariaDB here instead of MySQL.
First add MariaDB yum repository in our system. Create a new repo file /etc/yum.repos.d/mariadb.repo in your system and add below code as per your operating system and architecture.
For CentOS 8
[mariadb]
name = MariaDB-10.4
baseurl=http://yum.mariadb.org/10.4/centos8-amd64
gpgkey=https://yum.mariadb.org/RPM-GPG-KEY-MariaDB
gpgcheck=1
Next, install MariaDB YUM repository signing key.
rpm --import https://yum.mariadb.org/RPM-GPG-KEY-MariaDB
Update your system
dnf update
Run this command to install MariaDB with yum:
yum install galera-4
yum --disablerepo=AppStream install MariaDB-server MariaDB-client
Then we create the system startup links for MariaDB (so that MariaDB starts automatically whenever the system boots) and start the MariaDB server:
systemctl start mariadb
systemctl enable mariadb
Set passwords for the MySQL root account:
mysql_secure_installation
NOTE: RUNNING ALL PARTS OF THIS SCRIPT IS RECOMMENDED FOR ALL MariaDB
      SERVERS IN PRODUCTION USE!  PLEASE READ EACH STEP CAREFULLY!

In order to log into MariaDB to secure it, we'll need the current
password for the root user.  If you've just installed MariaDB, and
you haven't set the root password yet, the password will be blank,
so you should just press enter here.

Enter current password for root (enter for none):
OK, successfully used password, moving on...

Setting the root password ensures that nobody can log into the MariaDB
root user without the proper authorisation.

Set root password? [Y/n] y
New password:
Re-enter new password:
Password updated successfully!
Reloading privilege tables..
 ... Success!


By default, a MariaDB installation has an anonymous user, allowing anyone
to log into MariaDB without having to have a user account created for
them.  This is intended only for testing, and to make the installation
go a bit smoother.  You should remove them before moving into a
production environment.

Remove anonymous users? [Y/n] y
 ... Success!

Normally, root should only be allowed to connect from 'localhost'.  This
ensures that someone cannot guess at the root password from the network.

Disallow root login remotely? [Y/n] n
 ... skipping.

By default, MariaDB comes with a database named 'test' that anyone can
access.  This is also intended only for testing, and should be removed
before moving into a production environment.

Remove test database and access to it? [Y/n] y
 - Dropping test database...
 ... Success!
 - Removing privileges on test database...
 ... Success!

Reloading the privilege tables will ensure that all changes made so far
will take effect immediately.

Reload privilege tables now? [Y/n] y
 ... Success!

Cleaning up...

All done!  If you've completed all of the above steps, your MariaDB
installation should now be secure.

Thanks for using MariaDB!
Now let’s move on to the PHP part.
Step 3: Install PHP-FPM on CentOS 8.
The PHP version that ships with CentOS 8 as default is PHP 7.2.11. Therefore I will show you in this chapter some options to install newer PHP versions like PHP 7.4 from Remi repository.
Add the Remi CentOS repository.
dnf install https://dl.fedoraproject.org/pub/epel/epel-release-latest-8.noarch.rpm
dnf install https://rpms.remirepo.net/enterprise/remi-release-8.rpm
Now you have to chose which PHP version you want to use on the server.
If you want to use PHP 7.4 instead, use:
dnf config-manager --set-enabled PowerTools
dnf module reset php
dnf module install php:remi-7.4
Install PHP and related packages using the following command:
yum install php php-mysql php-fpm php-gd php-xml php-mbstring php-opcache php-devel php-pear php-bcmath -y
Now edit the php-fpm config file:
nano /etc/php-fpm.d/www.conf
Find the following line:
listen = 127.0.0.1:9000
change it to this:
listen = /var/run/php-fpm/php-fpm.sock
then find the following two lines:
;listen.owner = nobody
;listen.group = nobody
remove the preceding semicolons. Lastly, change the user and group value from “nobody” to “nginx”.
listen.owner = nginx
listen.group = nginx
Once you save and close the file, start the PHP processor:
systemctl start php-fpm
Next, enable php-fpm to start on system boot.
systemctl enable php-fpm
Step 4: Configure Nginx Virtual Host
Create a new virtual host file in /etc/nginx/sites-available directory
nano /etc/nginx/sites-available/demo.com.conf
Then we need to add our configuration files to nginx.conf
http {
    ....
    include /etc/nginx/sites-enabled/*;
    ....
}
Next, create symlink.
ln -s /etc/nginx/sites-available/demo.com.conf /etc/nginx/sites-enabled/demo.com.conf
Add the following lines to it. Replace demo.com and www.demo.com with your own domain. Don’t forget to set A record for your domain name.
server {
    listen       *:80;
    server_name demo.com www.demo.com;

    # Define default caching of 24h
    expires 86400s;
    add_header Pragma public;
    add_header Cache-Control "max-age=86400, public, must-revalidate, proxy-revalidate";

    # deliver a static 404
    error_page 404 /404.html;
    location  /404.html {
        internal;
    }

    # Deliver 404 instead of 403 "Forbidden"
    error_page 403 = 404;

    # Do not allow access to files giving away your WordPress version
    location ~ /(\.|wp-config.php|readme.html|licence.txt) {
        return 404;
    }

    # Add trailing slash to */wp-admin requests.
    rewrite /wp-admin$ $scheme://$host$uri/ permanent;

    # Don't log robots.txt requests
    location = /robots.txt {
        allow all;
        log_not_found off;
        access_log off;
    }

    # Rewrite for versioned CSS+JS via filemtime
    location ~* ^.+\.(css|js)$ {
        rewrite ^(.+)\.(\d+)\.(css|js)$ $1.$3 last;
        expires 31536000s;
        access_log off;
        log_not_found off;
        add_header Pragma public;
        add_header Cache-Control "max-age=31536000, public";
    }

    # Aggressive caching for static files
    # If you alter static files often, please use
    # add_header Cache-Control "max-age=31536000, public, must-revalidate, proxy-revalidate";
    location ~* \.(asf|asx|wax|wmv|wmx|avi|bmp|class|divx|doc|docx|eot|exe|gif|gz|gzip|ico|jpg|jpeg|jpe|mdb|mid|midi|mov|qt|mp3|m4a|mp4|m4v|mpeg|mpg|mpe|mpp|odb|odc|odf|odg|odp|ods|odt|ogg|ogv|otf|pdf|png|pot|pps|ppt|pptx|ra|ram|svg|svgz|swf|tar|t?gz|tif|tiff|ttf|wav|webm|wma|woff|wri|xla|xls|xlsx|xlt|xlw|zip)$ {
        expires 31536000s;
        access_log off;
        log_not_found off;
        add_header Pragma public;
        add_header Cache-Control "max-age=31536000, public";
    }
    error_log  /home/demo/logs/error.log;
    access_log /home/demo/logs/access.log;

    root /home/demo/public_html;
    location / {
        index  index.php index.html index.htm;
    }

    # get friendly url links working
    if (!-e $request_filename) {
        rewrite ^(.+)$ /index.php?q=$1 last;
    }

    # pass all PHP files through php-fpm
    location ~ \.php$ {
        try_files $uri =404;
        fastcgi_pass   127.0.0.1:9000;
        fastcgi_index  index.php;
        fastcgi_param  SCRIPT_FILENAME /home/demo/public_html/$fastcgi_script_name;
        include        /etc/nginx/fastcgi_params;
        fastcgi_intercept_errors on;
        fastcgi_ignore_client_abort off;
        fastcgi_connect_timeout 60;
        fastcgi_send_timeout 180;
        fastcgi_read_timeout 180;
        fastcgi_buffer_size 128k;
        fastcgi_buffers 4 256k;
        fastcgi_busy_buffers_size 256k;
        fastcgi_temp_file_write_size 256k;
    }

    # deny all apache .htaccess or .htpasswd files
    location ~ /\.ht {
        deny all;
    }
    # Deny access to hidden files
    location ~ /\. {
        deny all;
        access_log off;
        log_not_found off;
    }
}
Save and close the file. then reload nginx:
systemctl reload nginx
You can add additional virtual host files to host multiple website on a single server.
Step 5: Test PHP Processing
Create a info.php file in the web root directory:
nano /home/demo/public_html/info.php
Put the following text into the file
<?php phpinfo(); ?>
Save and close it. Then visit you newly created file by typing the following in your browser:
http://example.com/info.php
or
your ip address/info.php
If you will see something like in the following screenshot, then your PHP is working correctly.
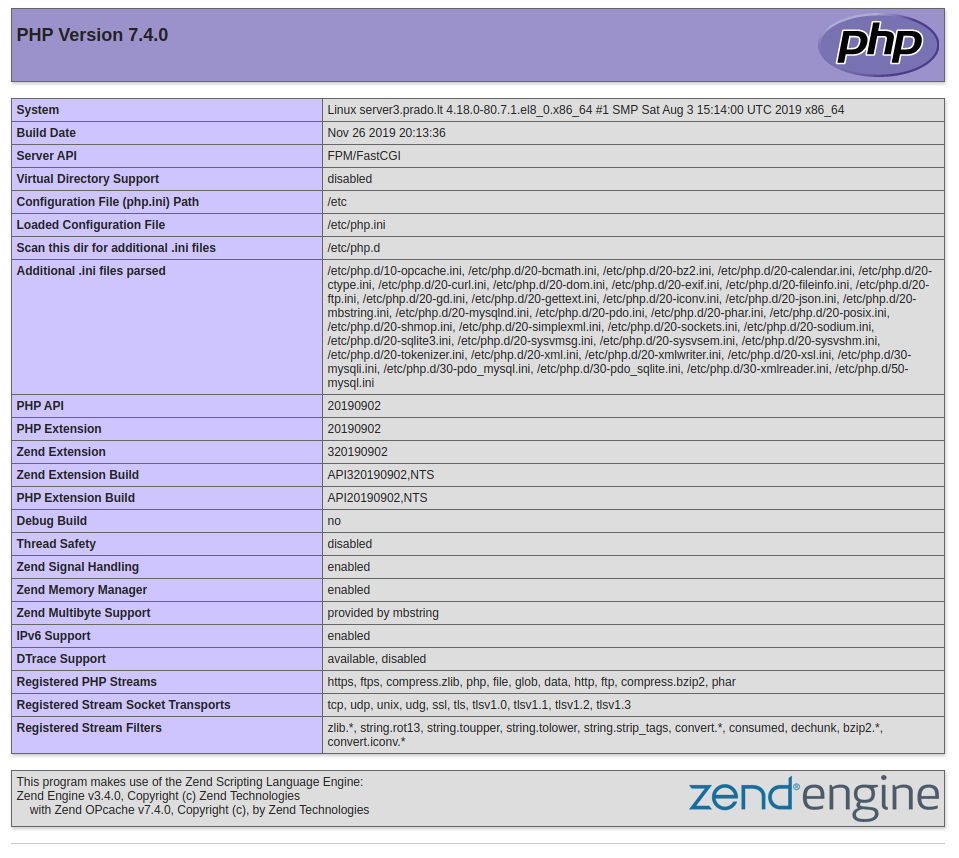
This file is for testing only. For security reasons you can now remove it using the following command:
rm /home/demo/public_html/info.php
Now you have LEMP installed, you may wonder what you should do next. Well, you can install a WordPress website on top of your LEMP stack. How to install WordPress you can read here
Related tutorials:
https://www.prado.lt/how-to-get-the-real-ip-address-using-cloudflare-and-nginx-on-centos-debian-ubuntu
How to install Apache, PHP 7.2 and MySQL on CentOS 7.5 (LAMP)
How to install Apache, PHP 7.3 and MySQL on CentOS 7.6 (LAMP)